I’ve always loved knives. Since I was a kid. You could even call it an obsession. At last count, I had about 30 different knives in my desk drawer. I know, I know. That’s a little weird, but there’s nothing like the simple perfection of one of mankind’s oldest tools.
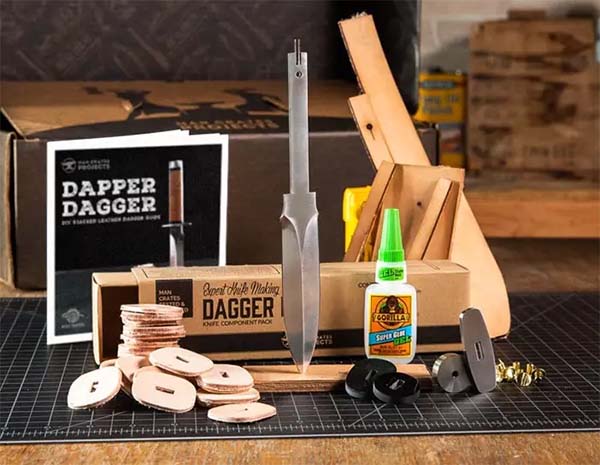
About a year and a half ago, my wife and I discovered Forged in Fire. You’ve probably heard this story before, but watching that set it in my head that it might be something I could do on my own. So, last Christmas, my wife got me a little project kit from Mancrates.com. It was their Stacked Leather Dagger Making Kit. Now, it took me almost a year to get to it (I had a lot going on last year) but over Christmas (to help me stay sane as we re-launched Eldros Legacy under our own imprint) I started working on it.
It’s a fairly straight-forward kit, but it required a bit more than “some assembly required.” The instructions were minimal, of course, and for someone like me mostly unnecessary. There were two major catches that I had to contend with. The first was the size of the tang. The blade, itself, comes perfectly ground and very sharp, but the tang was too large both in thickness and width for the guard and spacers to slide onto. As a result, I had to grind the tang down quite a bit. Fortunately, I have both a rotary bench grinder as well as a Dremel with a fairly wide assortment of attachments. It took time and patience, but I finally got everything to the point where I could assemble it and screw on the pommel.
Once I got the leather stacked and everything fit together, I locked it down and began the sanding process. I don’t currently have a bench belt grinder (that will be my first knife making tool purchase), but I’ve figured out that you can invert a standard hand belt sander into a vice and use it as a poor-man’s version. So, I started sanding… and sanding… and sanding.
The rough sanding took quite a bit, and then I ordered some new finishing tips for the Dremel that let me smooth things out even further. This, too, was a hell of a learning experience, but once I got the spacers and leather ground down and finished to where I wanted them, I added a favorite leather dye color (Ox Blood). With that it place, it was time for another round with the polishing sander tips on the Dremel as well as polishing tips to tidy up the pommel, guard, and blade where I’d introduced a few scratches along the way. Once that was all done, I added a sealer to the leather, did one final polish with a 3000-grit polisher.
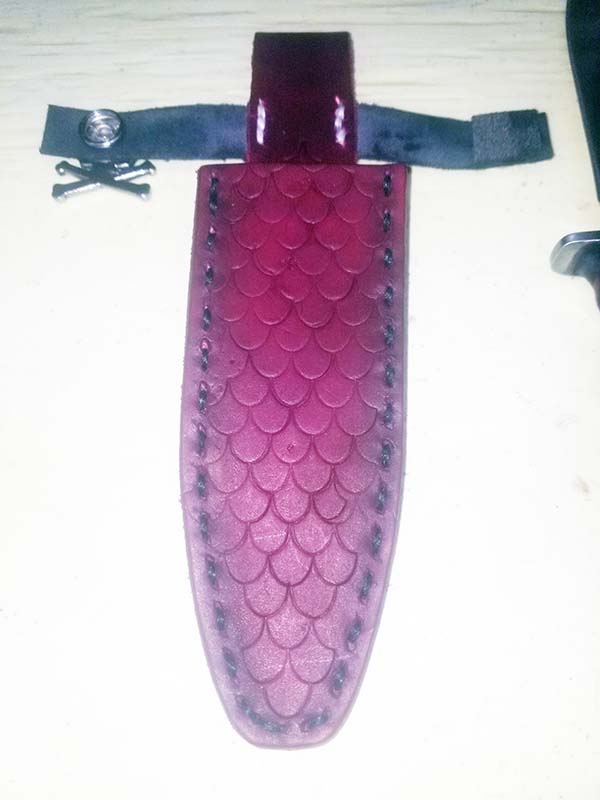
Next came the sheath. I used their kit, but I had to make some of my own adjustments. I used an embossing stamp on the outside, used thread rather than their provided rivets, and expanded the clasp portion to fit my thicker handle (I have big hands). The assembly, finishing, and dyeing took some time, as well as a bit more time on the sander, but finally….
Voilà! I finished it last week, knife, sheath, and all, and I gotta say, I’m HOOKED. So, as a result of this moderate success, I’m going to be taking some classes, getting some equipment, and training myself to become a bladesmith.
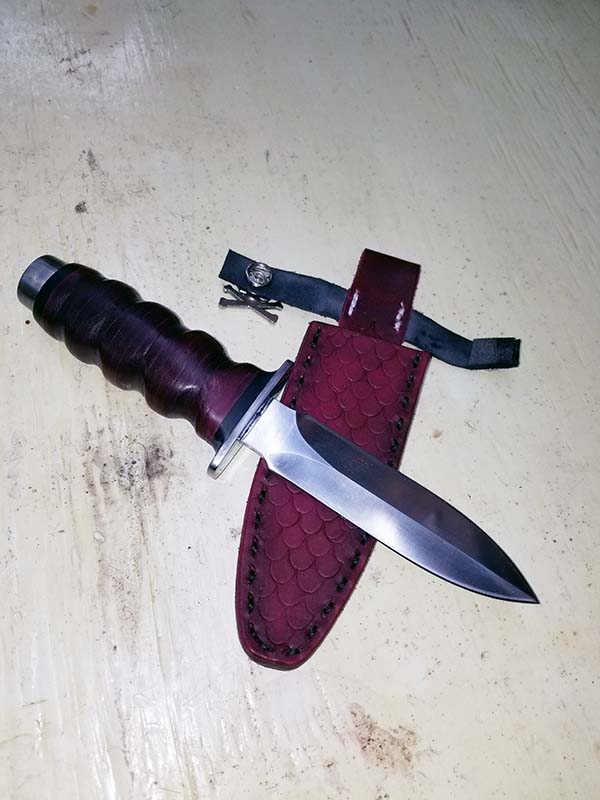
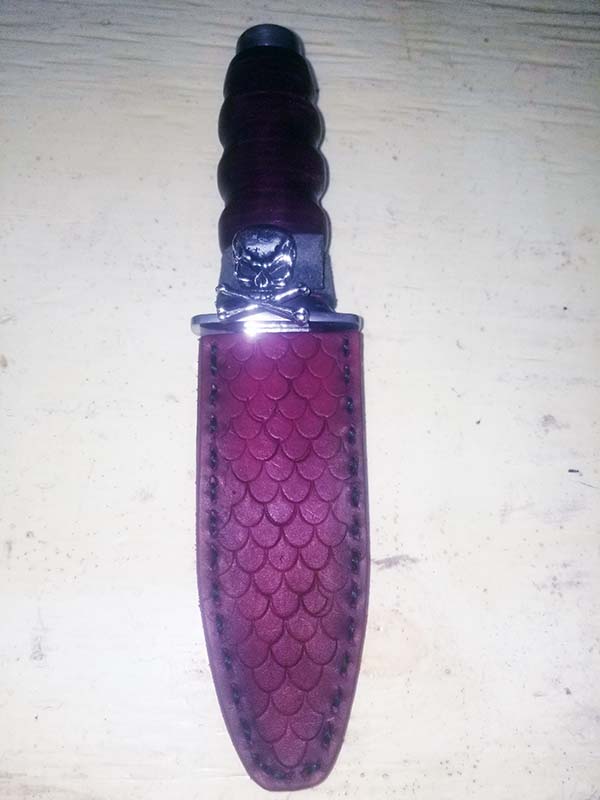
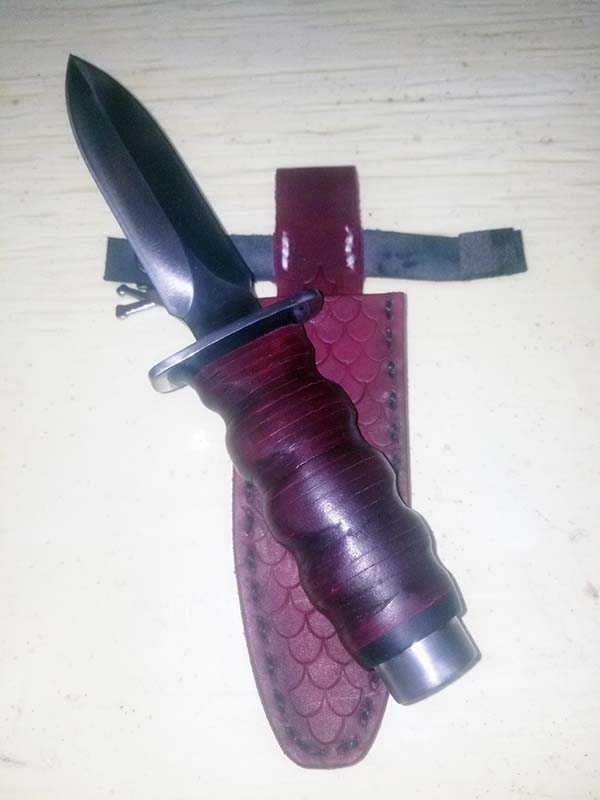
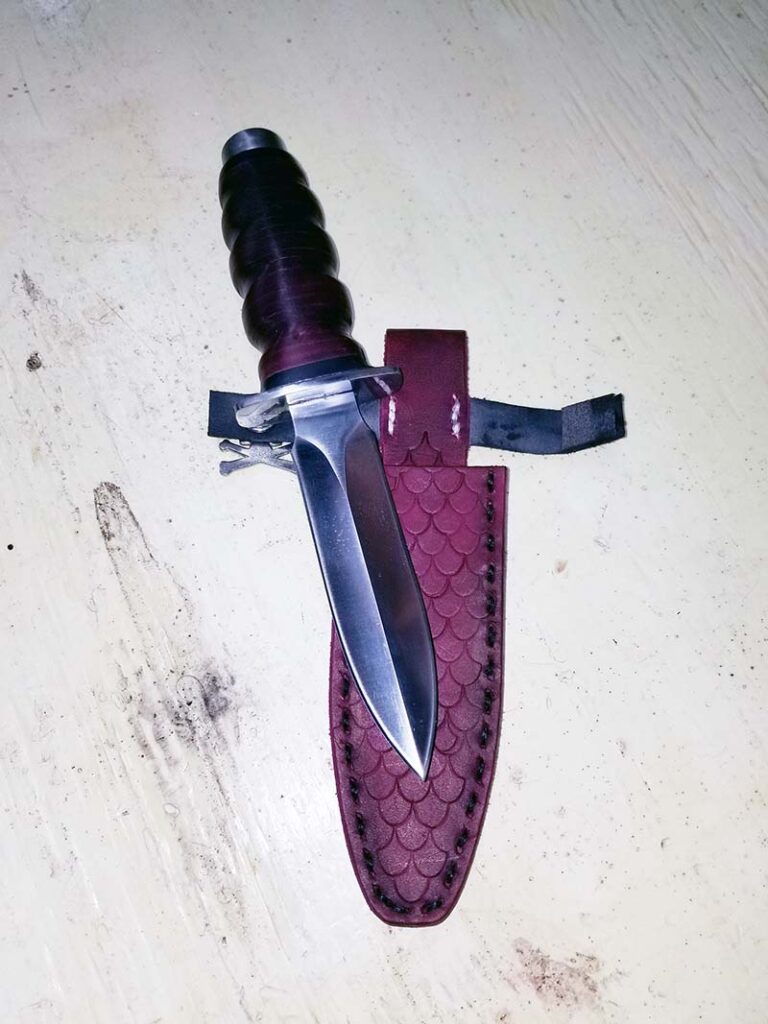
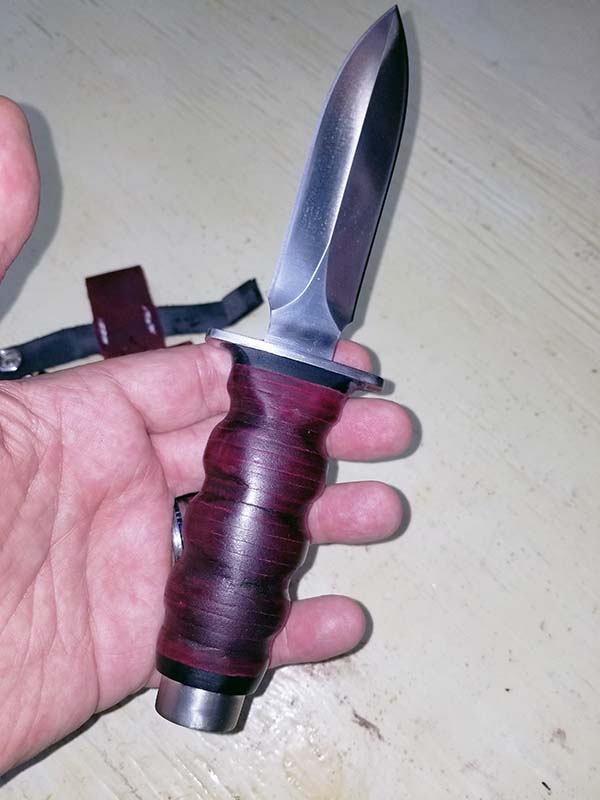
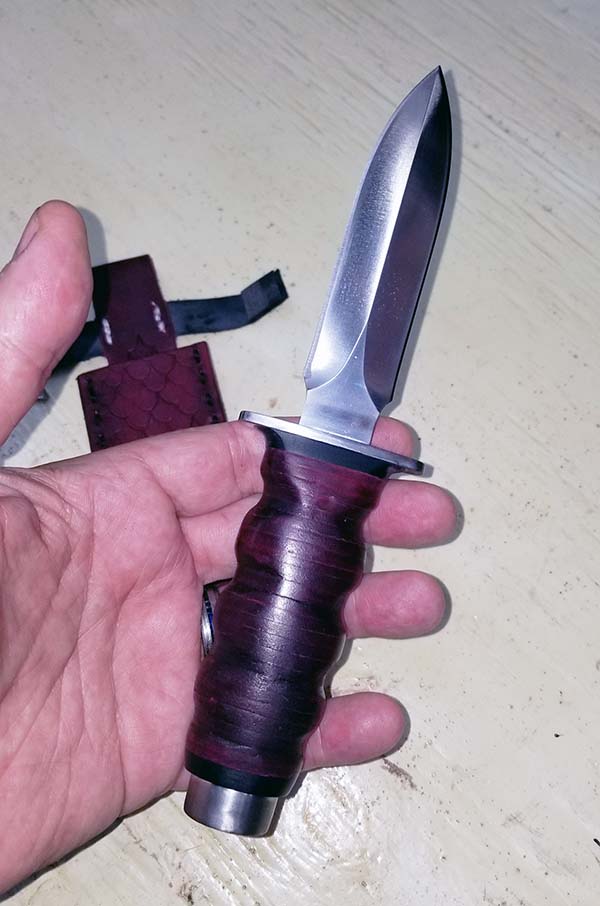
I plan on taking you all on that journey with me, and as a start here’s the end-result of my first knife build.
Here are a few more pictures of the finished product. It’s not even close to perfect, but for a first attempt, I’m pretty happy with it.
